

One of my favorite roll recipes! These are soft and fluffy and amazing! I have yet to ruin the dough. They are so very simple to make. The dough only needs to raise once (after rolls are shaped), which makes for a quick batch of rolls. But they are also very easy to mix them up, shape them and freeze a batch so they can be ready for dinner or lunch any day you need.
Let’s get started. What you’ll need:
Freeze-Ahead Crescent Rolls
3 tsp. SAF instant yeast (you can use regular yeast, if you don’t have this kind)
2 c. warm water
1/2 c. butter, softened
2/3 c. dry milk powder
1/2 c. sugar
1/2 c. instant potato flakes
2 eggs
1 1/2 tsp. salt
6-6 1/2 c. flour (first use 3 cups, then another 3 adding gradually)
This is what the SAF instant yeast looks like. (If you don’t have this, you can still use regular yeast in it’s place, just make sure your water is warm for it.)

In your Kitchenaid, or by hand, dissolve the yeast into the water. Then add the rest of the ingredients. Add just enough flour in gradually until it’s a nice dough. Should not be dry/crumbly, or too sticky, add more flour if to wet. Mix until incorporated and the dough pulls away from the sides of the bowl.
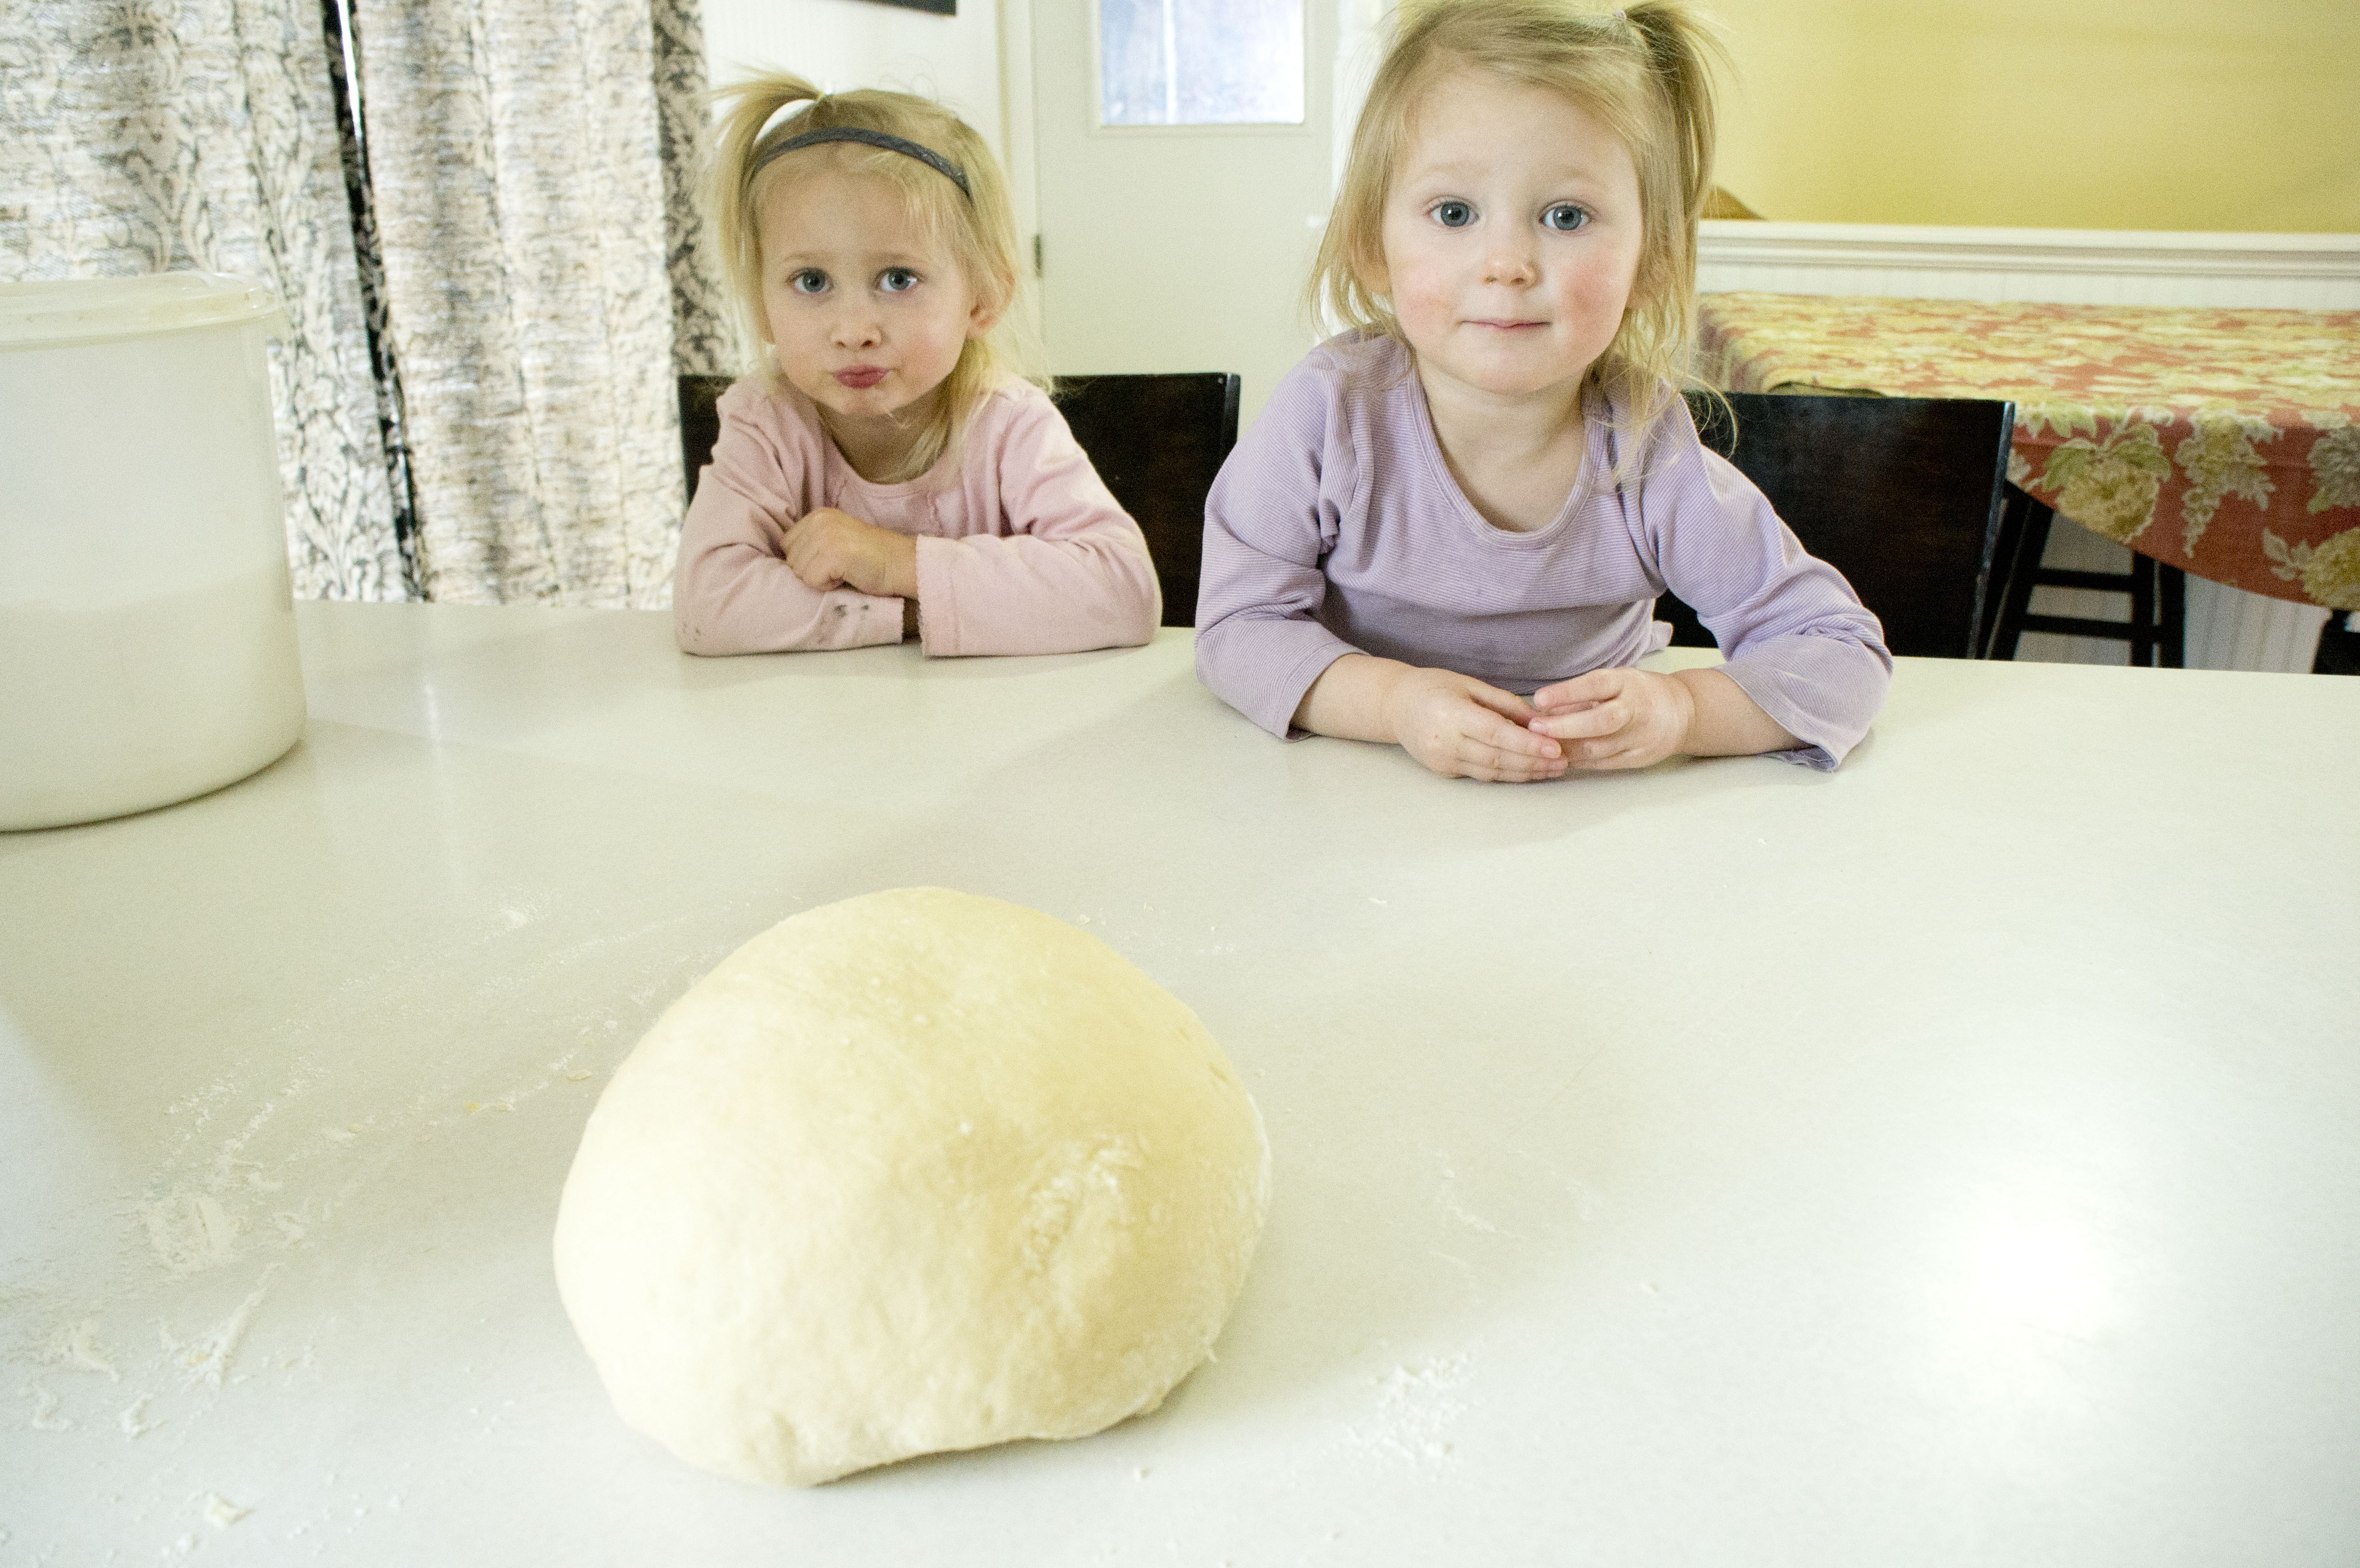
Get ready to roll the dough out. Make sure your helpers are ready to roll their own mini rolls. Here are my mini-helper babes.

Flour your countertop to prepare for rolling it out, as well as your rolling pin. Knead the dough 8-10 times to get it ready. Split the dough in half. Time to roll out the first ball. Roll it out into a nice round shape, maybe a 1/4″ thick, or to your liking. Using a pizza slicer cut through the round dough to create 16 triangles (like a pizza).


Roll up each triangle piece starting from the wide outside edge into the middle point. Some people like to curve the ends a bit on the rolls, but I just keep mine straight.
To get them ready to freeze, you will place them on a cookie sheet (can use wax paper on sheet or just spray it lightly-what I do).

Place the pan into the freezer (no need to cover them) to do a flash freeze. Once the rolls are frozen (maybe an hour), take them out and place the batch in a ziplock bag and place back into the freezer. It’s a good idea to label the date on it, so you know how old they are. (Normally, I would put these into a ziplock bag, but I noticed I was out, as I was getting these made. So I will be heading to the store shortly to get that). For now, this will do.

Then when you’re ready to bake them, place the frozen rolls on a baking sheet. Cover them now and let them thaw (works great to let them thaw overnight in the fridge). Now that they are thawed, let them raise for 1 hour or until they have doubled their size. Bake at 350 for 15-17 mins. or until golden brown on top. Brush tops with melted butter after pulling them out.
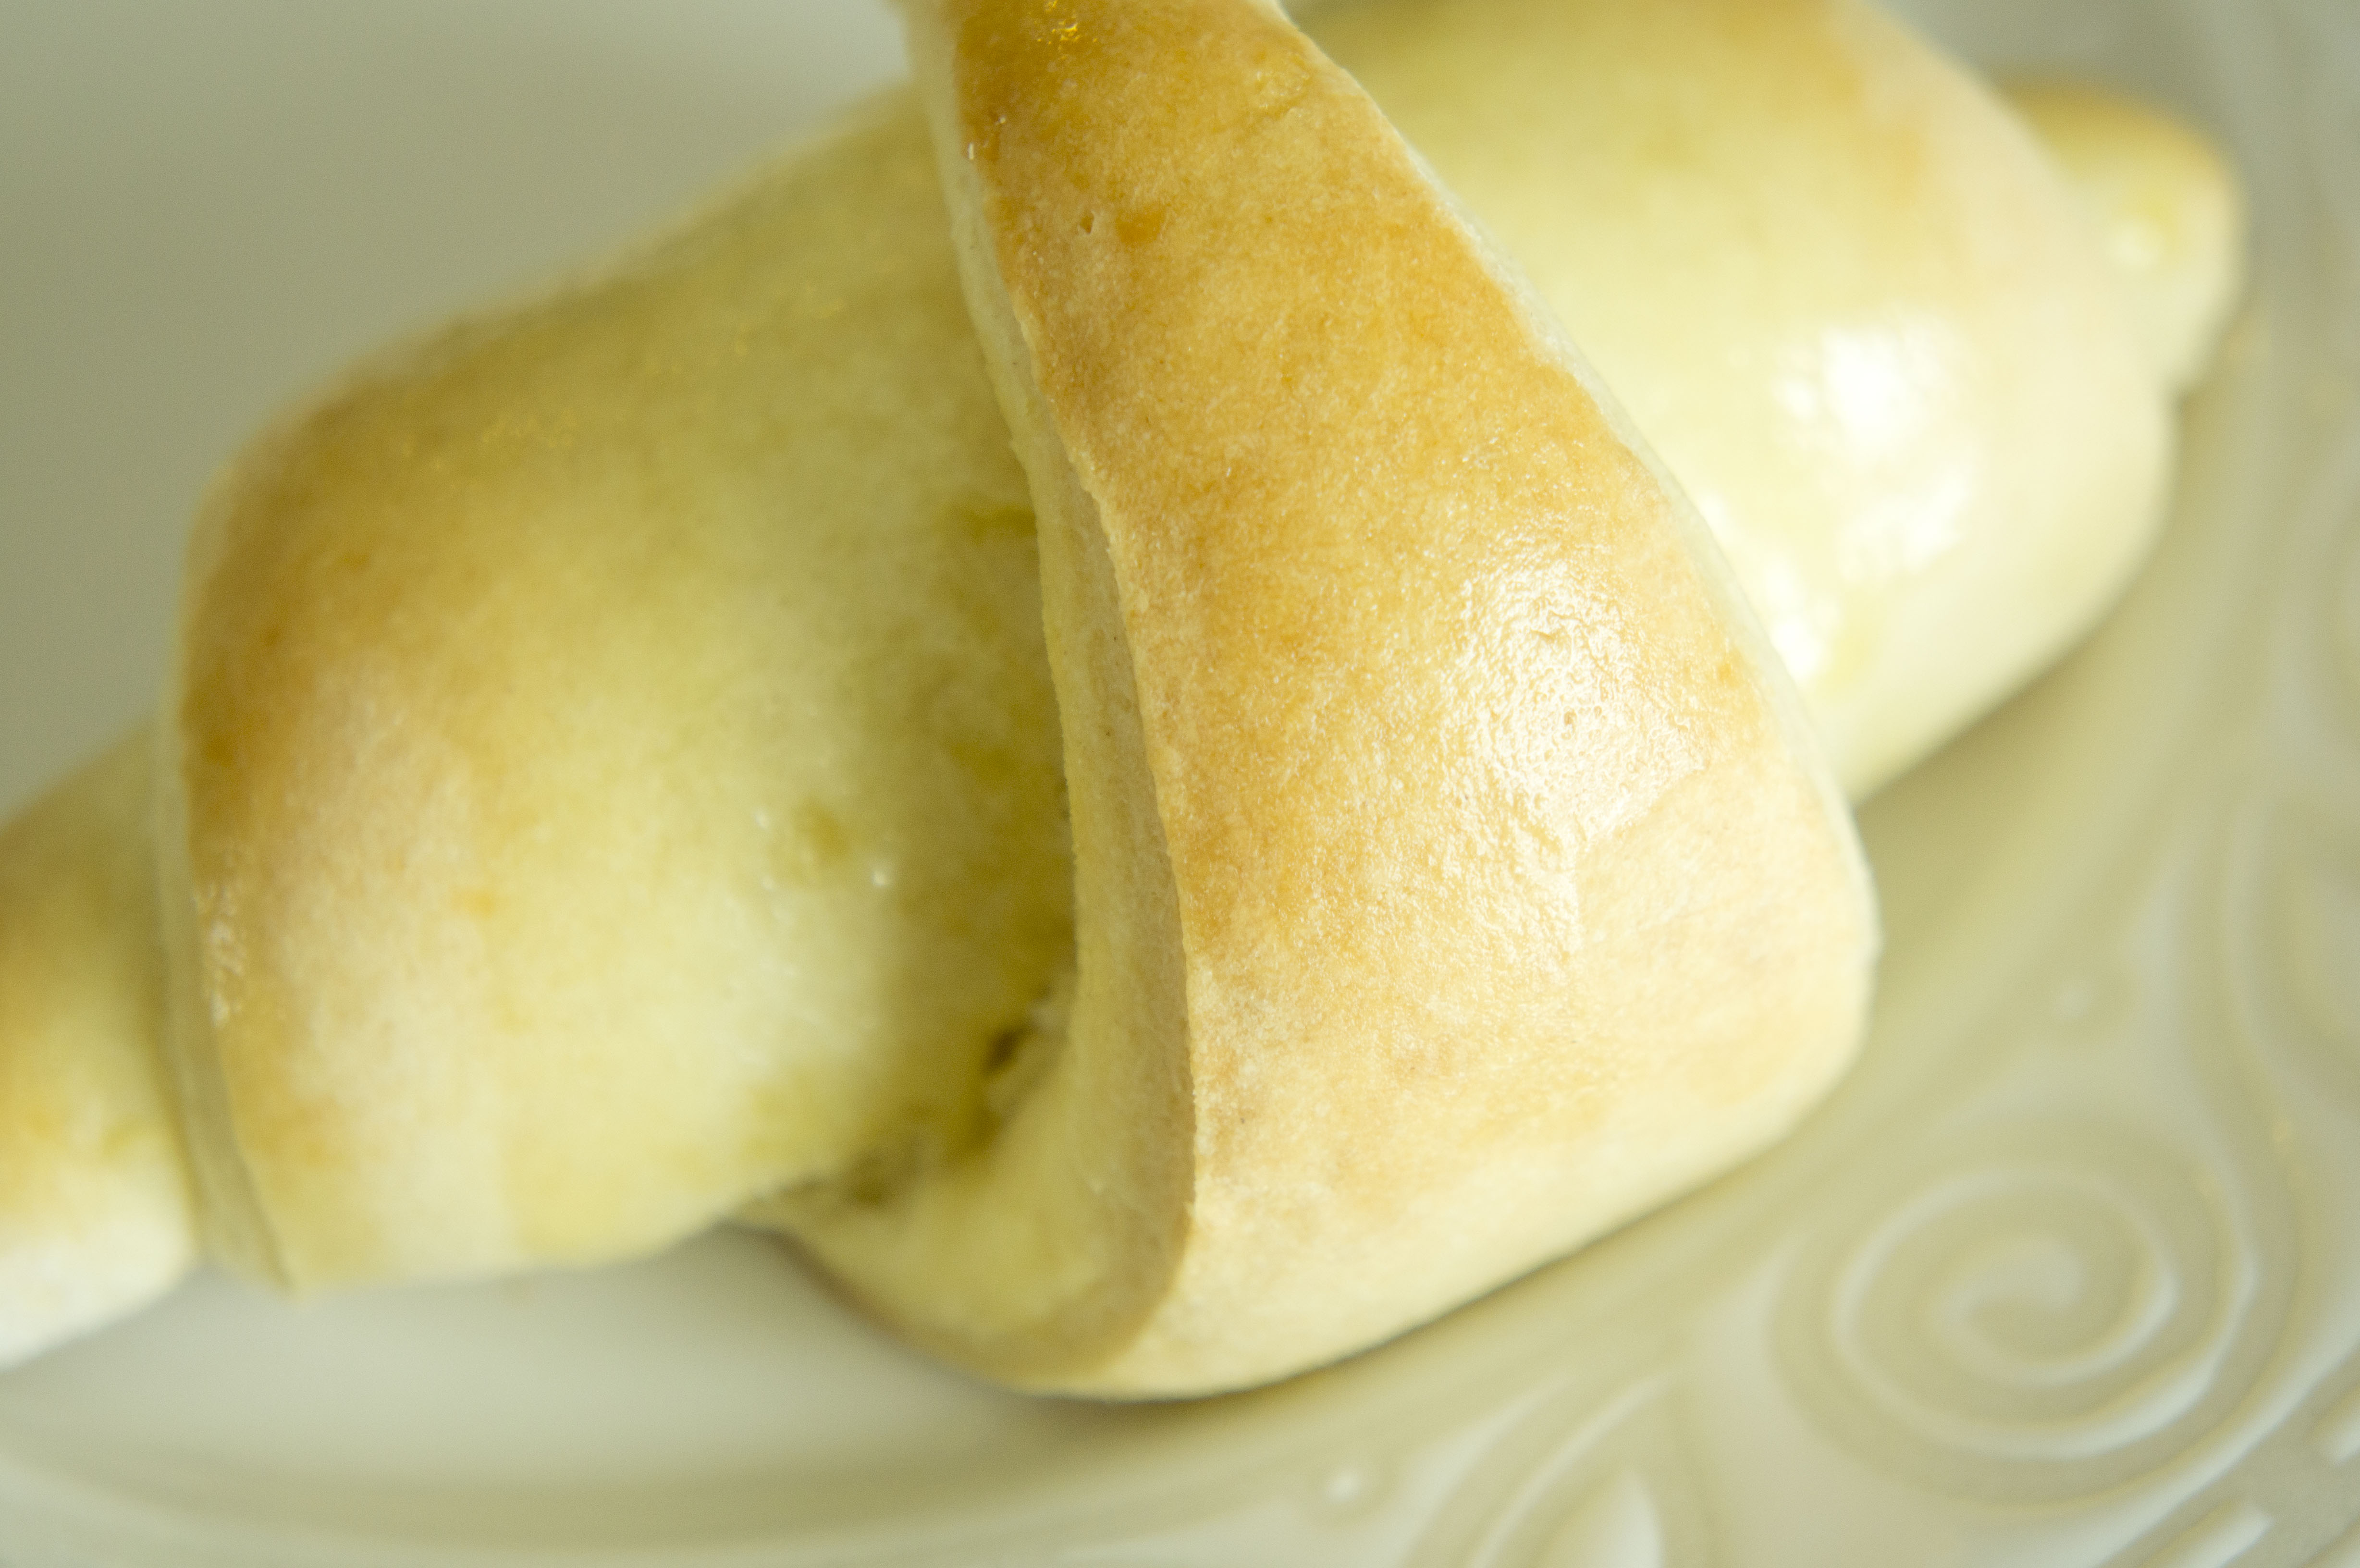
To show you just how nicely they work out. This roll has been frozen over night, taken out of the freezer the next day to thaw and raise, then baked. Look at what a beauty it is?!
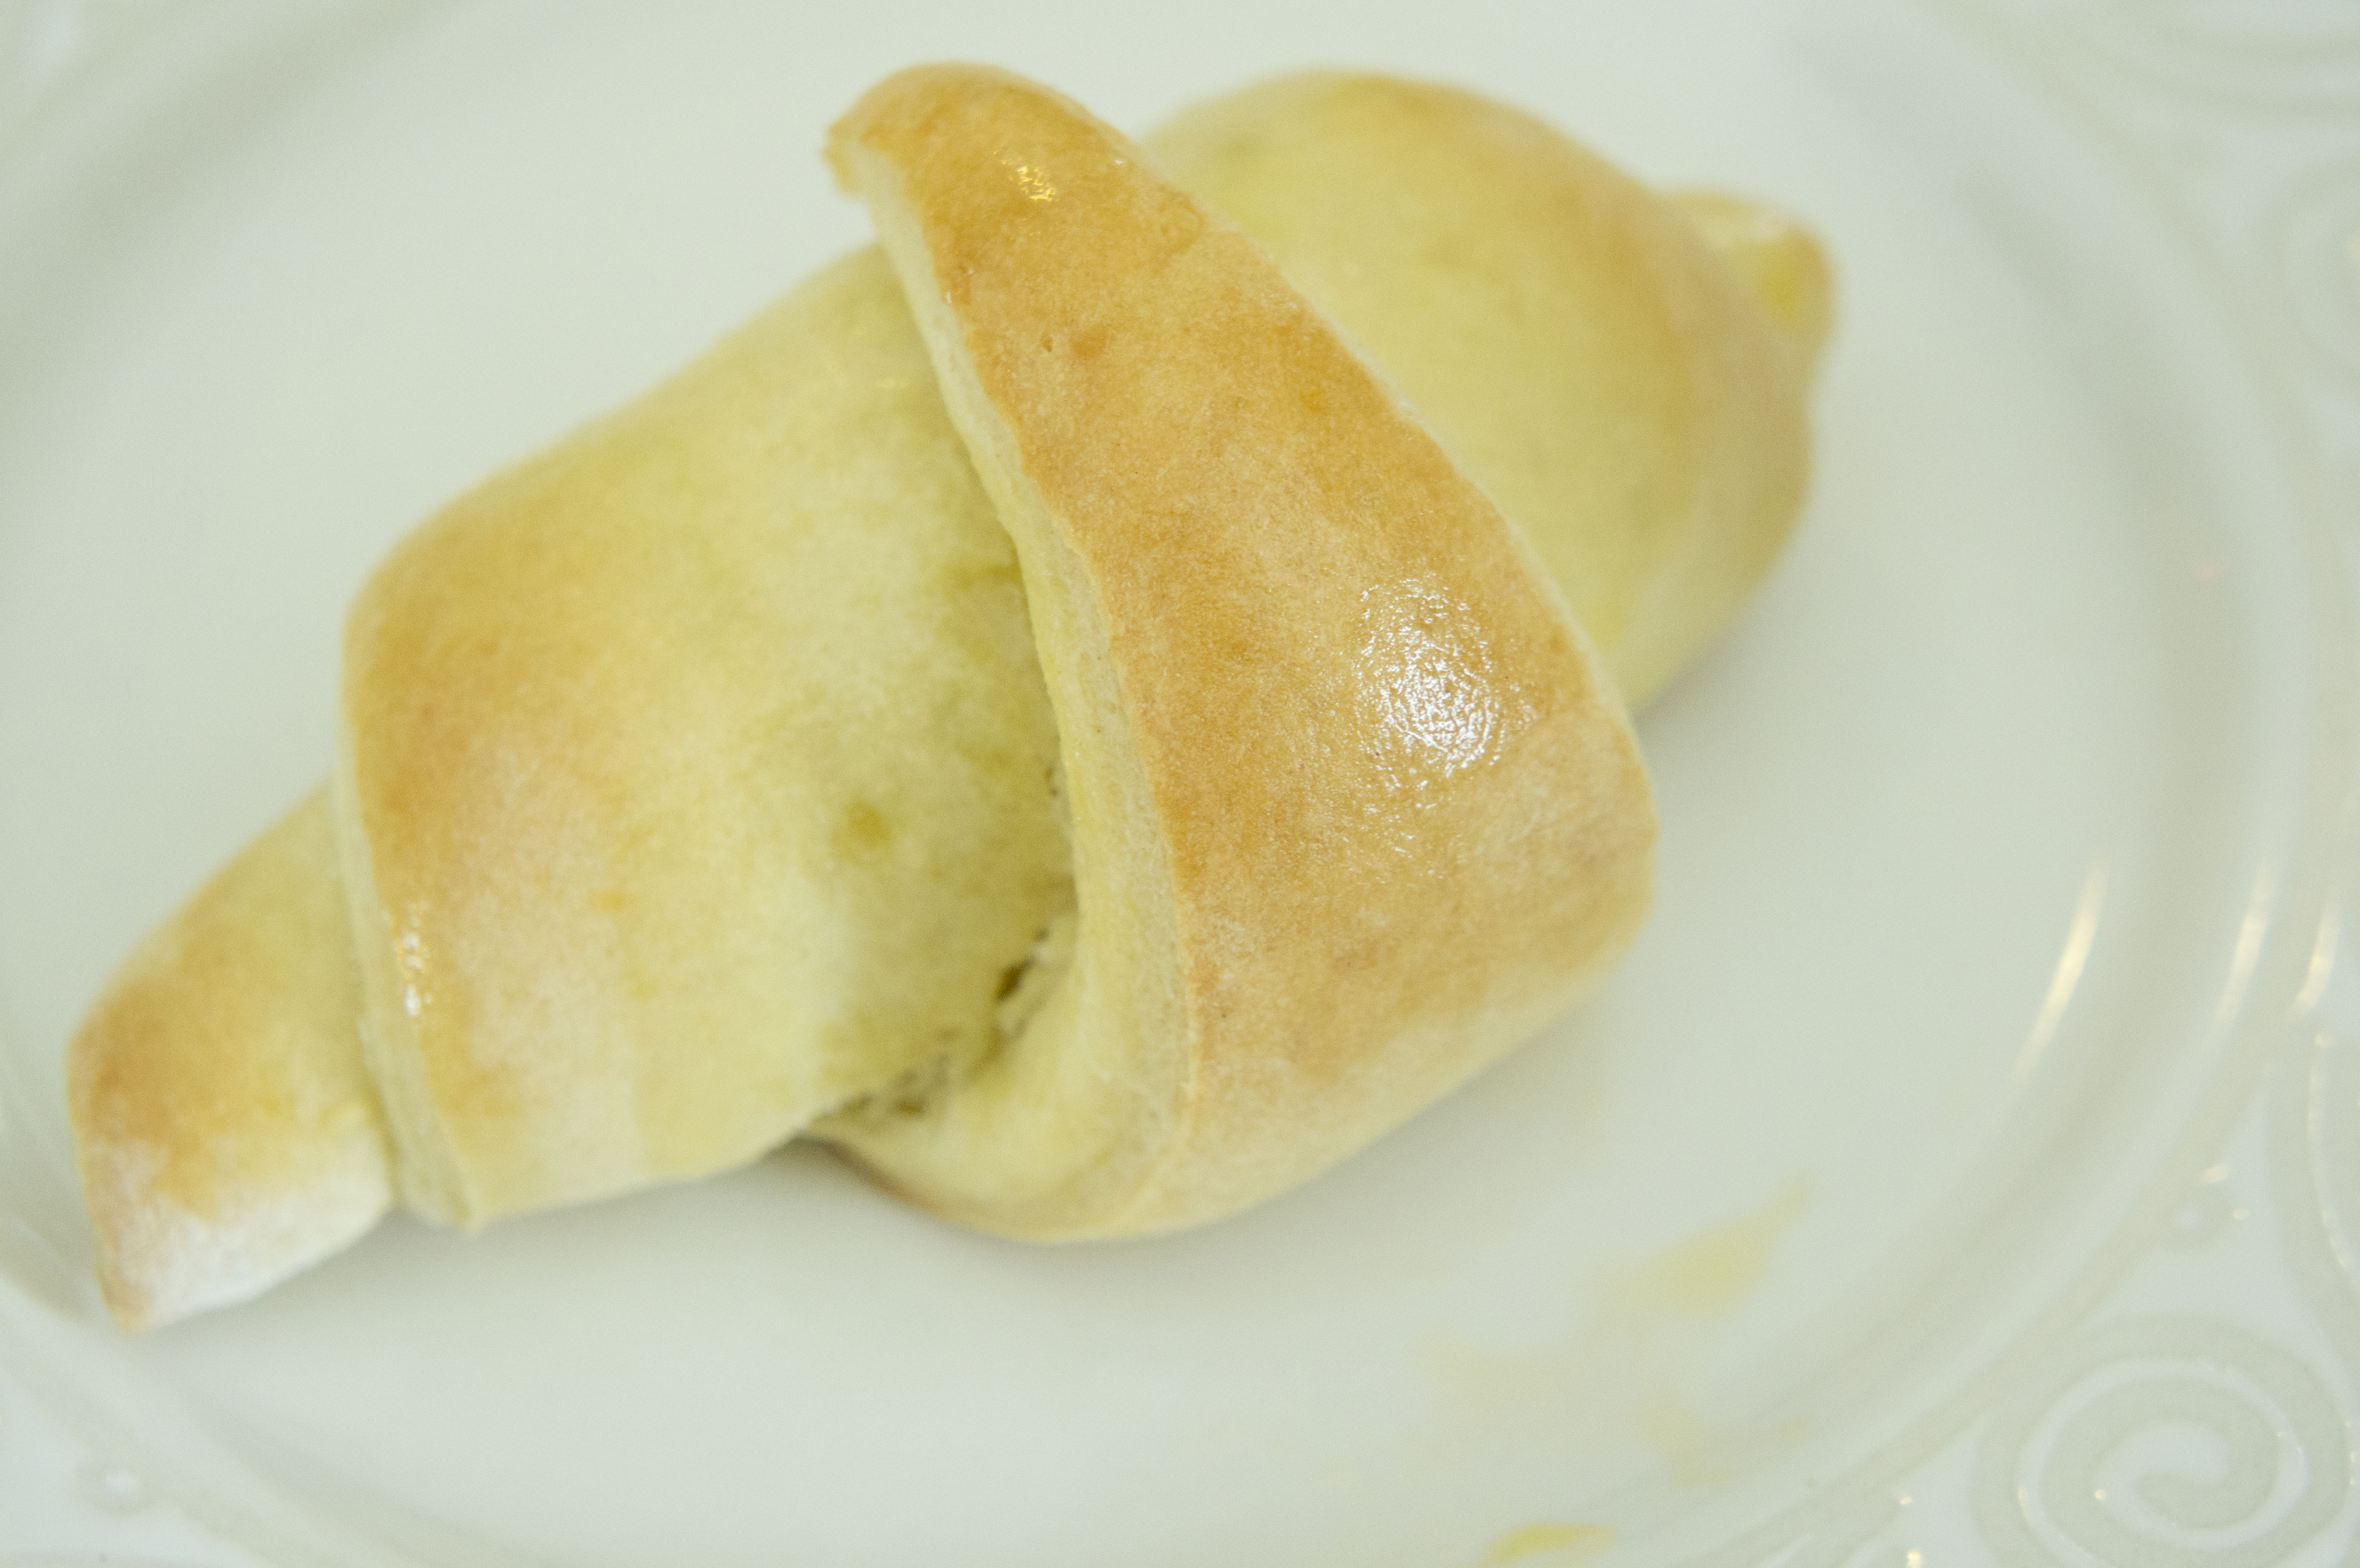

Yum-o! Deliciousness!
To Bake them right away (skipping the freezer): Place the dough rolls onto a pan that has been sprayed. Leave at least 2″ between rolls. Cover them with a cloth and let raise for 1 hour or until doubled in size. Bake at 350 for 15-17 mins or until golden brown on top. Brush tops with melted butter.
**Another fun idea: Fill the dough triangles with ham and cheese before rolling them up. My kids love me to make these for school lunches. Bake them and place in individual baggies with twist ties and keep in the freezer. When making lunches in the morning, take out of freezer, place in lunch bag and it should thaw in time for lunch.
Enjoy these beauties!
